
Why Prep Work Decides How Long Your Paint Job Lasts
Understand the prep tasks that determine how long your paint will last and how to prioritize them.
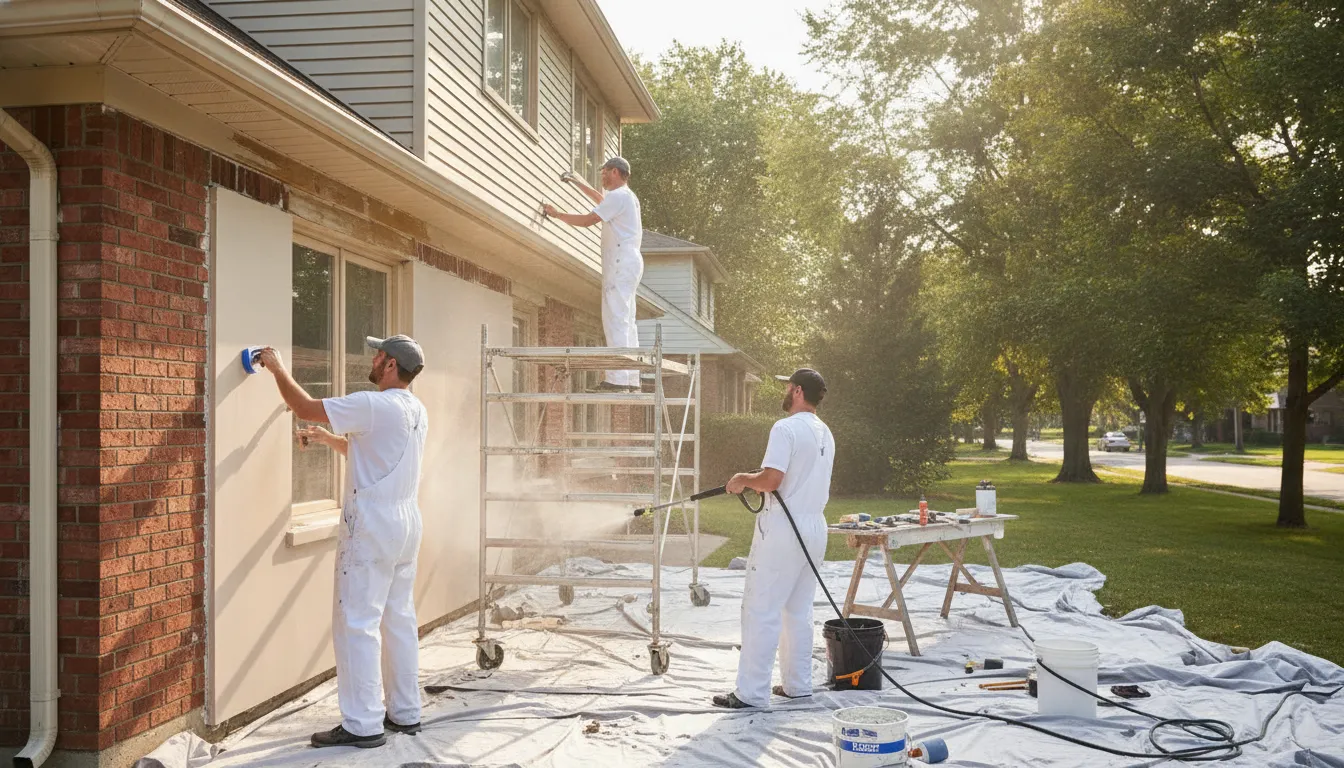
How does prep work actually determine paint lifespan?
Proper prep creates a stable, clean, and compatible surface so paint can adhere and expand/contract without failing; without it, coatings peel, blister, or fade long before their rated life.
Adhesion and substrate stability
Paint only performs as well as the surface beneath it. Removing loose material, replacing rotten wood, and leveling plaster or drywall gives the paint something solid to bond to; if the substrate moves or crumbles, even top-grade paint will crack and flake.
Moisture control and sealing
Moisture trapped under or behind paint is one of the most common causes of failure. Correcting leaks, using appropriate primers and sealers, and ensuring proper ventilation keep water from undermining the coating.
Compatibility of products
Choosing the right primer and paint for the substrate (wood, metal, masonry, previously coated oil or latex) prevents chemical incompatibilities that show up as peeling, tannin bleed-through, or poor gloss retention.
Surface profile and finish preparation
Sanding, stripping old finishes, and abrading glossy surfaces create the micro-profile paint needs for mechanical grip. Uneven profiles lead to thin spots, reduced protection, and early wear in high-exposure areas.
Step-by-Step: Why Prep Work Decides How Long Your Paint Job Lasts
This procedure shows the sequence contractors use when preparing a typical house surface so coatings last. Follow these steps to evaluate a job or prepare your home before painters arrive.
- 1
Inspect and document the substrate
Walk every surface—interior and exterior—looking for rot, rust, blistering, mold, cracks, and loose paint. Photograph and note problem areas so repair work can be estimated and scheduled before painting.
- 2
Fix moisture and structural issues
Address roof leaks, flashing failures, deteriorated caulk, or damp basement walls before any paint goes on. Painting over unresolved moisture problems is a temporary fix that usually fails within months to a few years.
- 3
Remove loose paint and unsafe coatings
Strip or scrape all failing paint down to solid edges; for older Toronto homes, test for lead if built before 1978 and follow safe-abatement or containment practices. Feathering and proper edge preparation prevent new paint from lifting.
- 4
Repair and replace damaged substrate
Replace rotten trim, use epoxy consolidants where appropriate, patch drywall or stucco, and treat metal for rust. Structural soundness prevents future movement that can stress the paint film.
- 5
Prime for adhesion and stain blocking
Select primers matched to both substrate and finish coat—oxide primers for bare steel, oil-based or bonding primers for chalky surfaces, and stain-blocking primers for tannins or water stains. Primer seals the surface and improves topcoat performance.
- 6
Final prep and environmental checks
Lightly sand primed areas for a uniform profile, clean surfaces of dust and contaminants, and confirm temperature and humidity are in the paint manufacturer's recommended range before applying topcoat. Proper timing prevents adhesion problems and poor curing.
Mistakes to Avoid
Many paint failures trace back to skipping prep steps to save time or cost. The following mistakes are common and costly; avoid them by planning repairs, using correct materials, and allowing appropriate curing times.
Painting over active moisture or leaks
Applying paint without fixing the underlying leak or moisture source guarantees a short-lived result. Moisture can cause blistering, mildew growth, and substrate breakdown—repair and dry the area first, using moisture meters when unsure.
Using the wrong primer or skipping primer
Not all primers are interchangeable. For example, masonry, new cedar, and metal require different primer chemistries; skipping primer on problematic surfaces invites tannin bleed and poor adhesion. Match primer specs to the substrate and finish paint.
Neglecting edge preparation and feathering
Leaving hard edges between old and new paint causes new coats to lift—especially on vertical trim where water runs. Properly feather edges, sand transitions smooth, and ensure full encapsulation of exposed wood or metal.
Ignoring seasonal and local climate factors
Toronto's freeze-thaw cycles and summer humidity affect curing and expansion. Painting exterior surfaces in margin weather (too cold, too humid) can prevent proper film formation; schedule exterior work in appropriate seasons and check product ambient limits.
What Affects Your Outcome
These key factors change how long your paint job will last.
Surface condition at start
A sound, dry, and well-prepared substrate multiplies coating life; degraded or contaminated surfaces shorten it dramatically.
Quality of materials and compatibility
Higher-grade paints and the correct primer-system will resist UV, moisture, and staining better; incompatible systems can fail quickly even if premium paint is used.
Tradesmanship and technique
Consistent application thickness, correct brush/roller techniques, and proper overlap matter. Skilled prep and painting reduce thin spots and premature wear.
Local climate and seasonal timing
Toronto’s climate—with cold winters, hot humid summers, and freeze-thaw—affects expansion and curing. Painting in recommended temperature and humidity windows improves film formation.
Underlying building envelope issues
Leaks, poor flashing, and inadequate ventilation create recurring problems that painting alone won’t fix; addressing the envelope is often the most durable solution.
Inspection, maintenance, and touch-ups
Regularly inspecting caulks, seals, and high-wear areas and doing small touch-ups prevents small failures from becoming larger ones. Proactive maintenance extends life more cost-effectively than full repaints.
Frequently Asked Questions
How long should proper prep add to the schedule?
Prep time varies by condition: a fresh, clean wall might add a day, while a surface with rot, rust or staining can add several days to weeks for repairs and curing. Allow time for drying, repairs, and primer curing rather than rushing to the topcoat.
Do I always need a primer?
Not always—some high-quality paints include primer properties—but primers are essential when bonding to bare wood, bare metal, chalky surfaces, or when blocking stains and tannins. When in doubt, a specified primer is the safer choice.
Can I paint in early spring or late fall in Toronto?
You can in mild conditions, but check manufacturer temperature and humidity limits; many exterior paints require ambient and surface temperatures above about 5–10°C and moderate humidity for proper curing. Verify locally and plan exterior painting during stable, recommended weather windows.
What are signs a painter skimped on prep?
Early peeling at edges, rapid yellowing on exterior trim, visible brush marks through the finish, or large areas that flake after a few seasons suggest inadequate surface prep or inappropriate materials. Document issues with photos for contractor review and warranty claims.
Should I be concerned about lead paint?
If your home was built before 1978, lead-based paint may be present. Testing by a qualified professional is the safe first step; removal or containment requires special work practices and, in many cases, certified contractors—verify Ontario regulations and follow safe handling guidance.
How does prep differ between siding types?
Wood siding needs dry, sound wood, filler for checks, and stain-blocking primer for knots; fiber-cement requires filling joints and using masonry or acrylic primers; vinyl and aluminum need cleaning and an appropriate bonding primer if the finish is chalky. Match techniques to material for best results.
Free exterior paint inspection and prep assessment
We’ll walk your Toronto home, note moisture risks, substrate repairs, and primer needs—so you know what a lasting paint job will take.
Get a Free Quote